
How to Use Digital Backgrounds for Headshots (Step-by-Step Guide)
A Step-by-Step Editing Workflow for Photographers
Digital headshot backgrounds allow photographers to create polished, cinematic results without leaving the studio, but success depends on how they’re used.
This guide walks through a practical, repeatable workflow for using digital backgrounds in headshot photography, including lighting tips, editing steps, and common mistakes to avoid.
For a full overview of what digital headshot backgrounds are and why photographers use them, see our Digital Backgrounds for Headshots Resource Guide.

How to Add a Digital Background to a Headshot (Step-by-Step Guide)
Step 1: Capture the Right Base Image
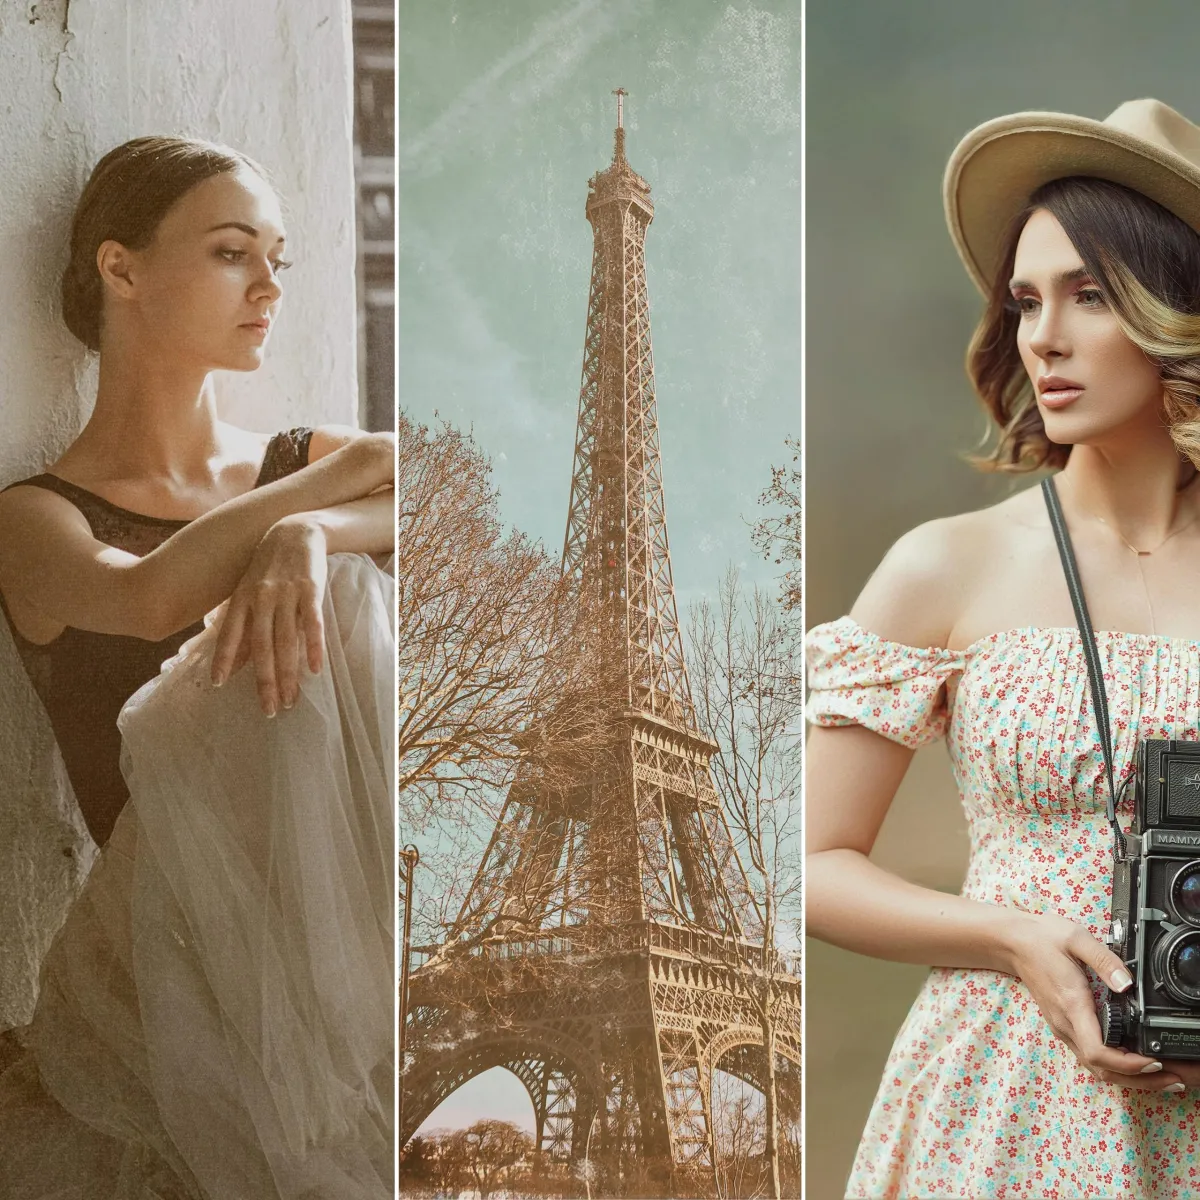
Use a solid-colored backdrop and shoot your subject against something plain and uncluttered (neutral colors or gray, white, and beige walls work best for easy extraction). Ensure there is contrast between the subject's hair and the background for better extraction of details.
Leave space around your subject for easier extraction and cropping.
Ensure even lighting on the subject to prevent shadows that could interfere with background replacement. Avoid harsh shadows on the background.
Shoot at a slightly lower aperture (f/5.6 to f/8) for crisp subject details.
Avoid heavy color casts on hair or shoulders and clothing.
Clean captures make blending faster and more realistic.
Step 2: Extract the Subject
Use Photoshop’s Select Subject tool, Remove Background feature, or manual selections with the Pen Tool for precise extractions.
Refine the edges using layer masks and feathering, or the refine edge brush for a natural cutout.
If you are in camera raw or lightroom you can use the mask subject tool to separate your subject from the background.
Step 3: Add and Blend the Digital Background
Place the digital background layer beneath the subject. Not all backgrounds work for all clients.
When selecting a digital headshot background, consider:
The client’s industry and brand personality
Wardrobe colors and contrast
Mood (corporate, creative, cinematic, neutral)
Perspective and depth
Professional digital backgrounds designed for headshots blend more naturally than generic stock images. Good backgrounds should be:
High resolution (at least 5000 px on the long edge)
Clean and free of noise
Neutral-coloured or softly textured
Replace the Background in Photoshop
In Photoshop, the typical workflow includes:
Selecting the subject
Placing the digital background beneath the subject layer, adjusting the size and positioning to align with your subject.
Use Gaussian Blur on the background to match the depth of field if necessary.
Refine edges using masks
Apply color grading and lighting adjustments (like Curves, Dodge & Burn) to ensure seamless integration.
Subtlety matters. Small color and exposure tweaks often make the biggest difference.
Using Digital Backgrounds with Evoto
AI-assisted tools like Evoto streamline background replacement for high-volume workflows.
Photographers often use Evoto to:
Quickly isolate subjects
Swap backgrounds efficiently
Make global refinements before final retouching
This approach works especially well for corporate teams or branding sessions with consistent lighting.
Step 4: Match Color, Depth, and Mood
Remember to match:
Lighting direction (and match background contrast to subject lighting)
Colour temperature (use Color Balance or Curves for subtle shifts)
Depth of field (add a slight blur if your background looks too sharp)
Shadow grounding (use soft brushes and reduced opacity)
And also:
Use layer masks to soften edges and blend the subject naturally.
Add subtle drop shadows, vignetting or ambient lighting effects to make the composite look realistic.
Apply a final sharpening filter, grain, and texture to enhance detail and cohesion.
The goal is for the background to support the subject, not compete with it.
Common Mistakes to Avoid When Using Digital Backgrounds
Choosing backgrounds with mismatched perspective
Ignoring edge cleanup around hair
Over-processing contrast or saturation
Using low-resolution backgrounds on high-res images
High-quality assets and restrained editing lead to professional results.
When to Use a Curated Digital Background Collection
Many photographers streamline their workflow by using curated collections designed specifically for headshots.
These collections:
Save editing time
Ensure consistent quality
Offer variety across industries
Reduce trial-and-error with stock images
If you want to explore professional options, you can view the Ultimate Headshot Background Collection from The Imaginator Studio.

Learn more about the Ultimate Headshot Background Collection
Digital headshot backgrounds are a powerful tool but their impact depends on capture, choice, and technique. Great photographers know why professional headshot matters for personal branding clients. With the right workflow, photographers can deliver cinematic, professional headshots efficiently while maintaining full creative control.